Are you looking to know how much is DStv decoder now in Nigeria? In this article, we have gone out of our way to find the current prices of all DStv decoders and all other information you need to know.
Types of DStv decoders and their prices
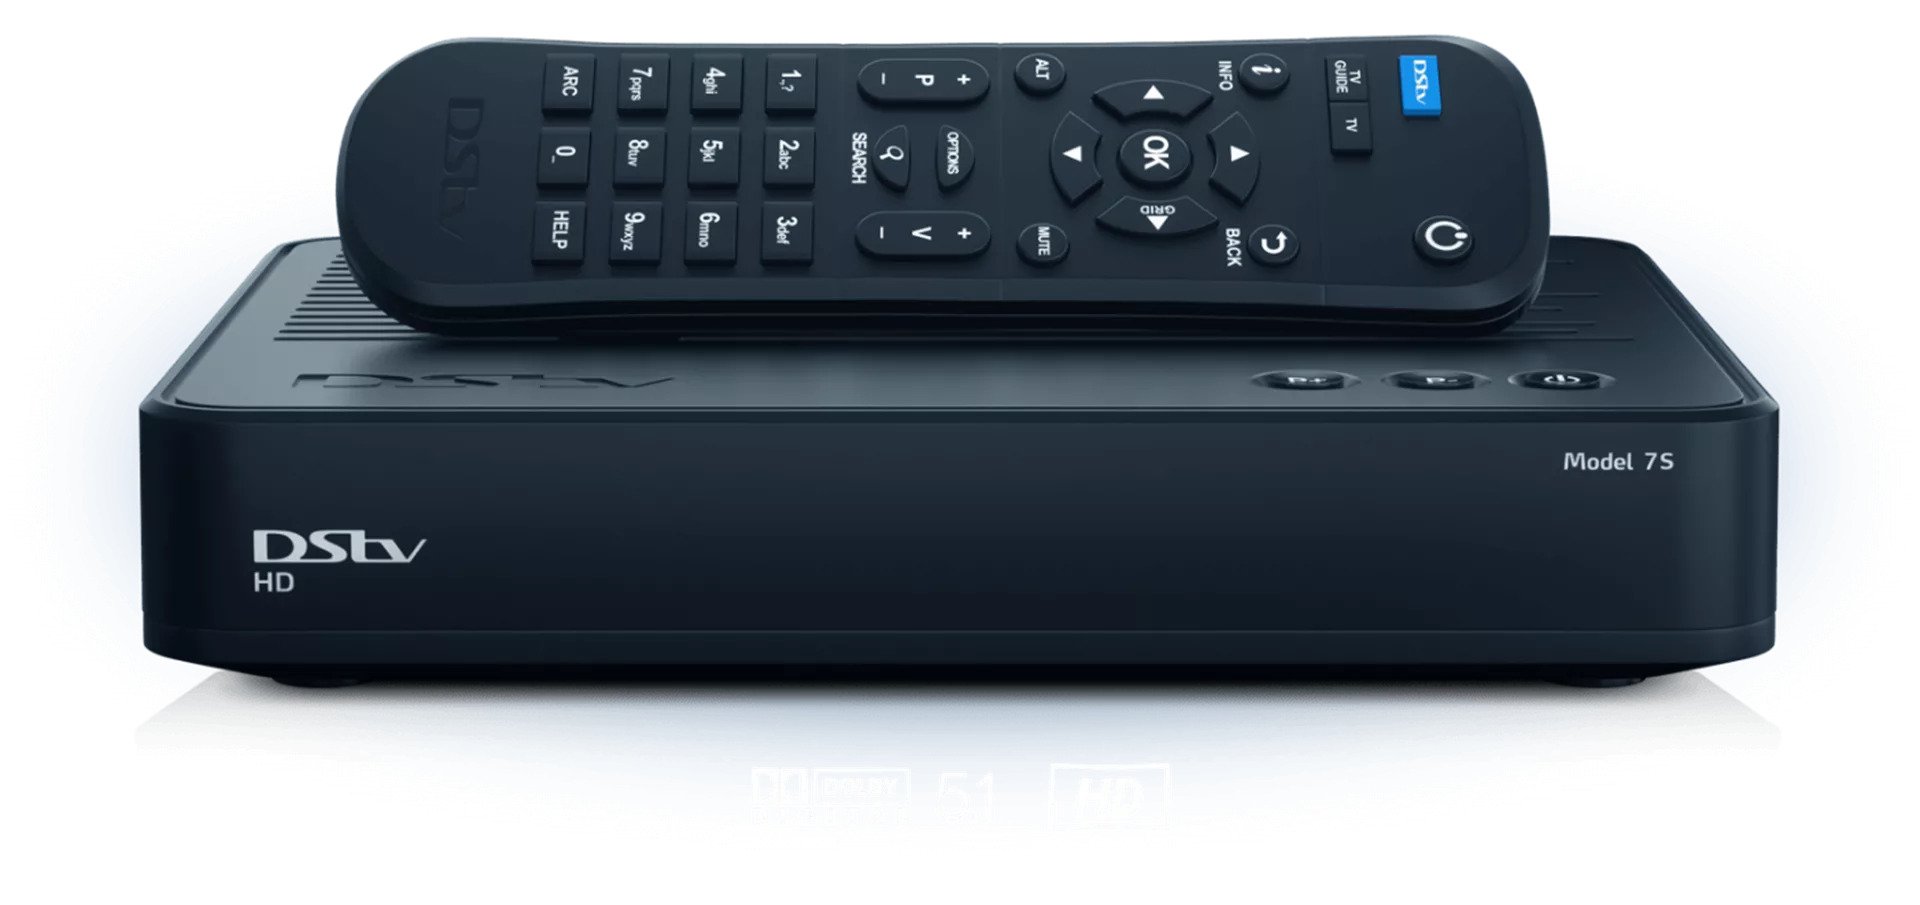
DStv HD Decoder Price
The DStv HD Decoder price in Nigeria is N19,900. This price is for the full package, which includes the HD Decoder, Dishkit, and a free one-month Yanga subscription.
HD Decoder (Features)
- Plan your viewing with the 8-day TV guide
- Set reminders for the shows, movies, and series that you are interested in.
- Control what your kids watch with the Parental Control feature
- Connect another decoder with XtraView on one subscription.
HD Decoder (Specifications)
LNB IN — Connects the unicable port from your LNB to the decoder. At the back of your decoder, there is a port written: “LNB In”. Use that port to connect the RG6 cable from the dish. Once you have connected the decoder correctly to the satellite dish, run the installation wizard.
AV — Input on a decoder receives (AV) audio/visual signals from electronic equipment that generates AV signals (AV output). AV cables are “all-in-one” and therefore don’t use the RCA color codes.
HDMI — If you have an HD TV, use the supplied HDMI cable and connect it to the HDMI port on the back of the decoder, then connect the other end to the HDMI port on the TV.
USB — DStv decoders has a USB port that may be used to attach a DStv Wi-Fi Connector allowing access the Internet using Wi-Fi, enabling features such as Catch Up Plus and setting remote recordings.
Power In — Connect the power supply to this input and then plug the other side into the mains.
DStv Explora Decoder Price
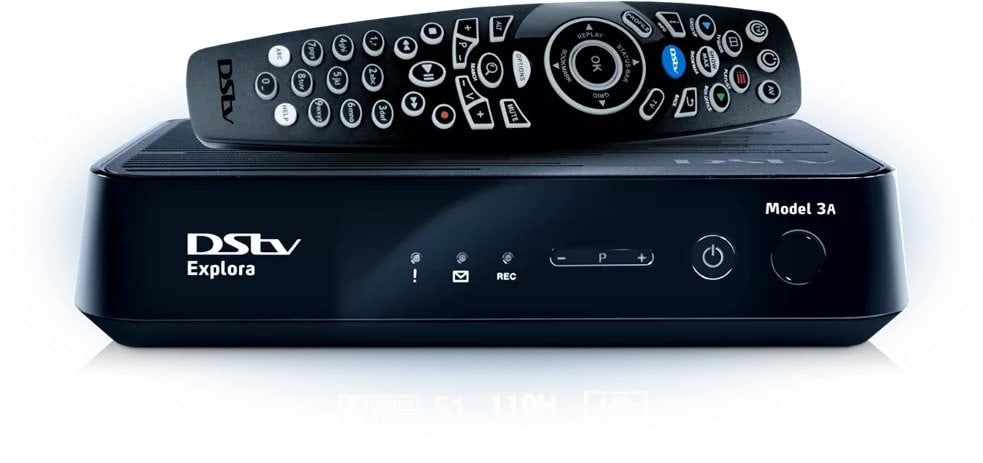
Decoder + Dish kit + Smart LNB
The price for a DStv Explora Decoder in Nigeria is N160,000. This price is for the full package which includes the Decoder, Dish kit, and a Smart LNB.
Decoder + Smart LNB
The price for the Explora Decoder plus a smart LNB without the Dishkit is N155,000.
Explora Decoder (Features)
- Connect to the internet for Catch Up and Showmax
- Fast forward, rewind, instant play, slow motion, and pause live TV for up to 2 hours
- Record up to 110 hours with the 1TB hard drive, while watching another channel
- Connect up to 3 Decoders with XtraView.
Explora Decoder (Specifications)
Unicable IN — Connects the unicable port from your LNB to the decoder. At the back of your decoder, there is a port written: “Unicable in”. Use that port to connect the RG6 cable from the dish. Once you have connected the decoder correctly to the satellite dish, run the installation wizard.
Audio Out (L) — The white RCA port is a stereo audio output. If you have a non-HD TV, use the supplied RCA cables and connect the red, white, and yellow inputs to the RCA ports on the back of the decoder, then connect the red, white, and yellow inputs to the RCA ports on the TV or other external amplifiers.
Audio Out (R) — The red RCA port is a stereo audio output. If you have a non-HD TV, use the supplied RCA cables and connect the red, white, and yellow inputs to the RCA ports on the back of the decoder, then connect the red, white, and yellow inputs to the RCA ports on the TV or other external amplifiers.
Video Out — The yellow RCA port is a composite video output. If you have a non-HD TV, use the supplied RCA cables and connect the red, white, and yellow inputs to the RCA ports on the back of the decoder, then connect the red, white, and yellow inputs to the RCA ports on the TV or other external amplifiers.
Digital Video Out (Optional) — Connect the decoder to your home theatre system using the SPDIF port on the decoder.
Audio Optical — Connects audio to an external amplifier. Unlike other cabling standards, the optical audio system uses fiber optic cables and laser light to transmit digital audio signals between devices.
HDMI — If you have an HD TV, you can use the supplied HDMI cable and connect it to the HDMI port on the back of the decoder, then connect the other end to the HDMI port on the TV.
USB — DStv decoders have a USB port that may be used to attach a DStv Wi-Fi Connector allowing access to the Internet using Wi-Fi, enabling features such as Catch Up Plus and setting remote recordings.
Ethernet — Plug the Ethernet cable into the green Ethernet port at the back of your decoder and plug the other side of the Ethernet port into your internet-capable router. Use the connectivity checker on your decoder to confirm that you are connected to the internet.
Power In – Connect the power supply to this input and then plug the other side into the mains.
Source: DStv.com
